Don’t have the right equipment to complete a multimedia project? Let us help!
Who can borrow equipment?
Our equipment is available to current Furman students, faculty, and staff, but our primary mission is to support student academic projects. You can borrow equipment for a personal project as long as it doesn’t interfere with our ability to provide equipment to someone who needs it for a graded assignment or internship. The same guideline applies to faculty and staff – you’re welcome to borrow equipment as long as we don’t need it for student academic work.
How long can you borrow it?
It depends on the item, but most of our equipment is available for a 48-hour (two-day) loan period. If you need something longer, though, please ask! Find more details about specific items below.
What if I need a quiet space to record?
Did you know that the Library has an Audio Recording Studio? It’s designed to be a soundproofed space for recording and is located next to the IT Service Center on the Ground Floor. You can even reserve the room through the Library website!
WML Equipment Information & Quick Start Videos
We have the following items available for students to borrow and use outside of the WML for 48 hours (2 days):
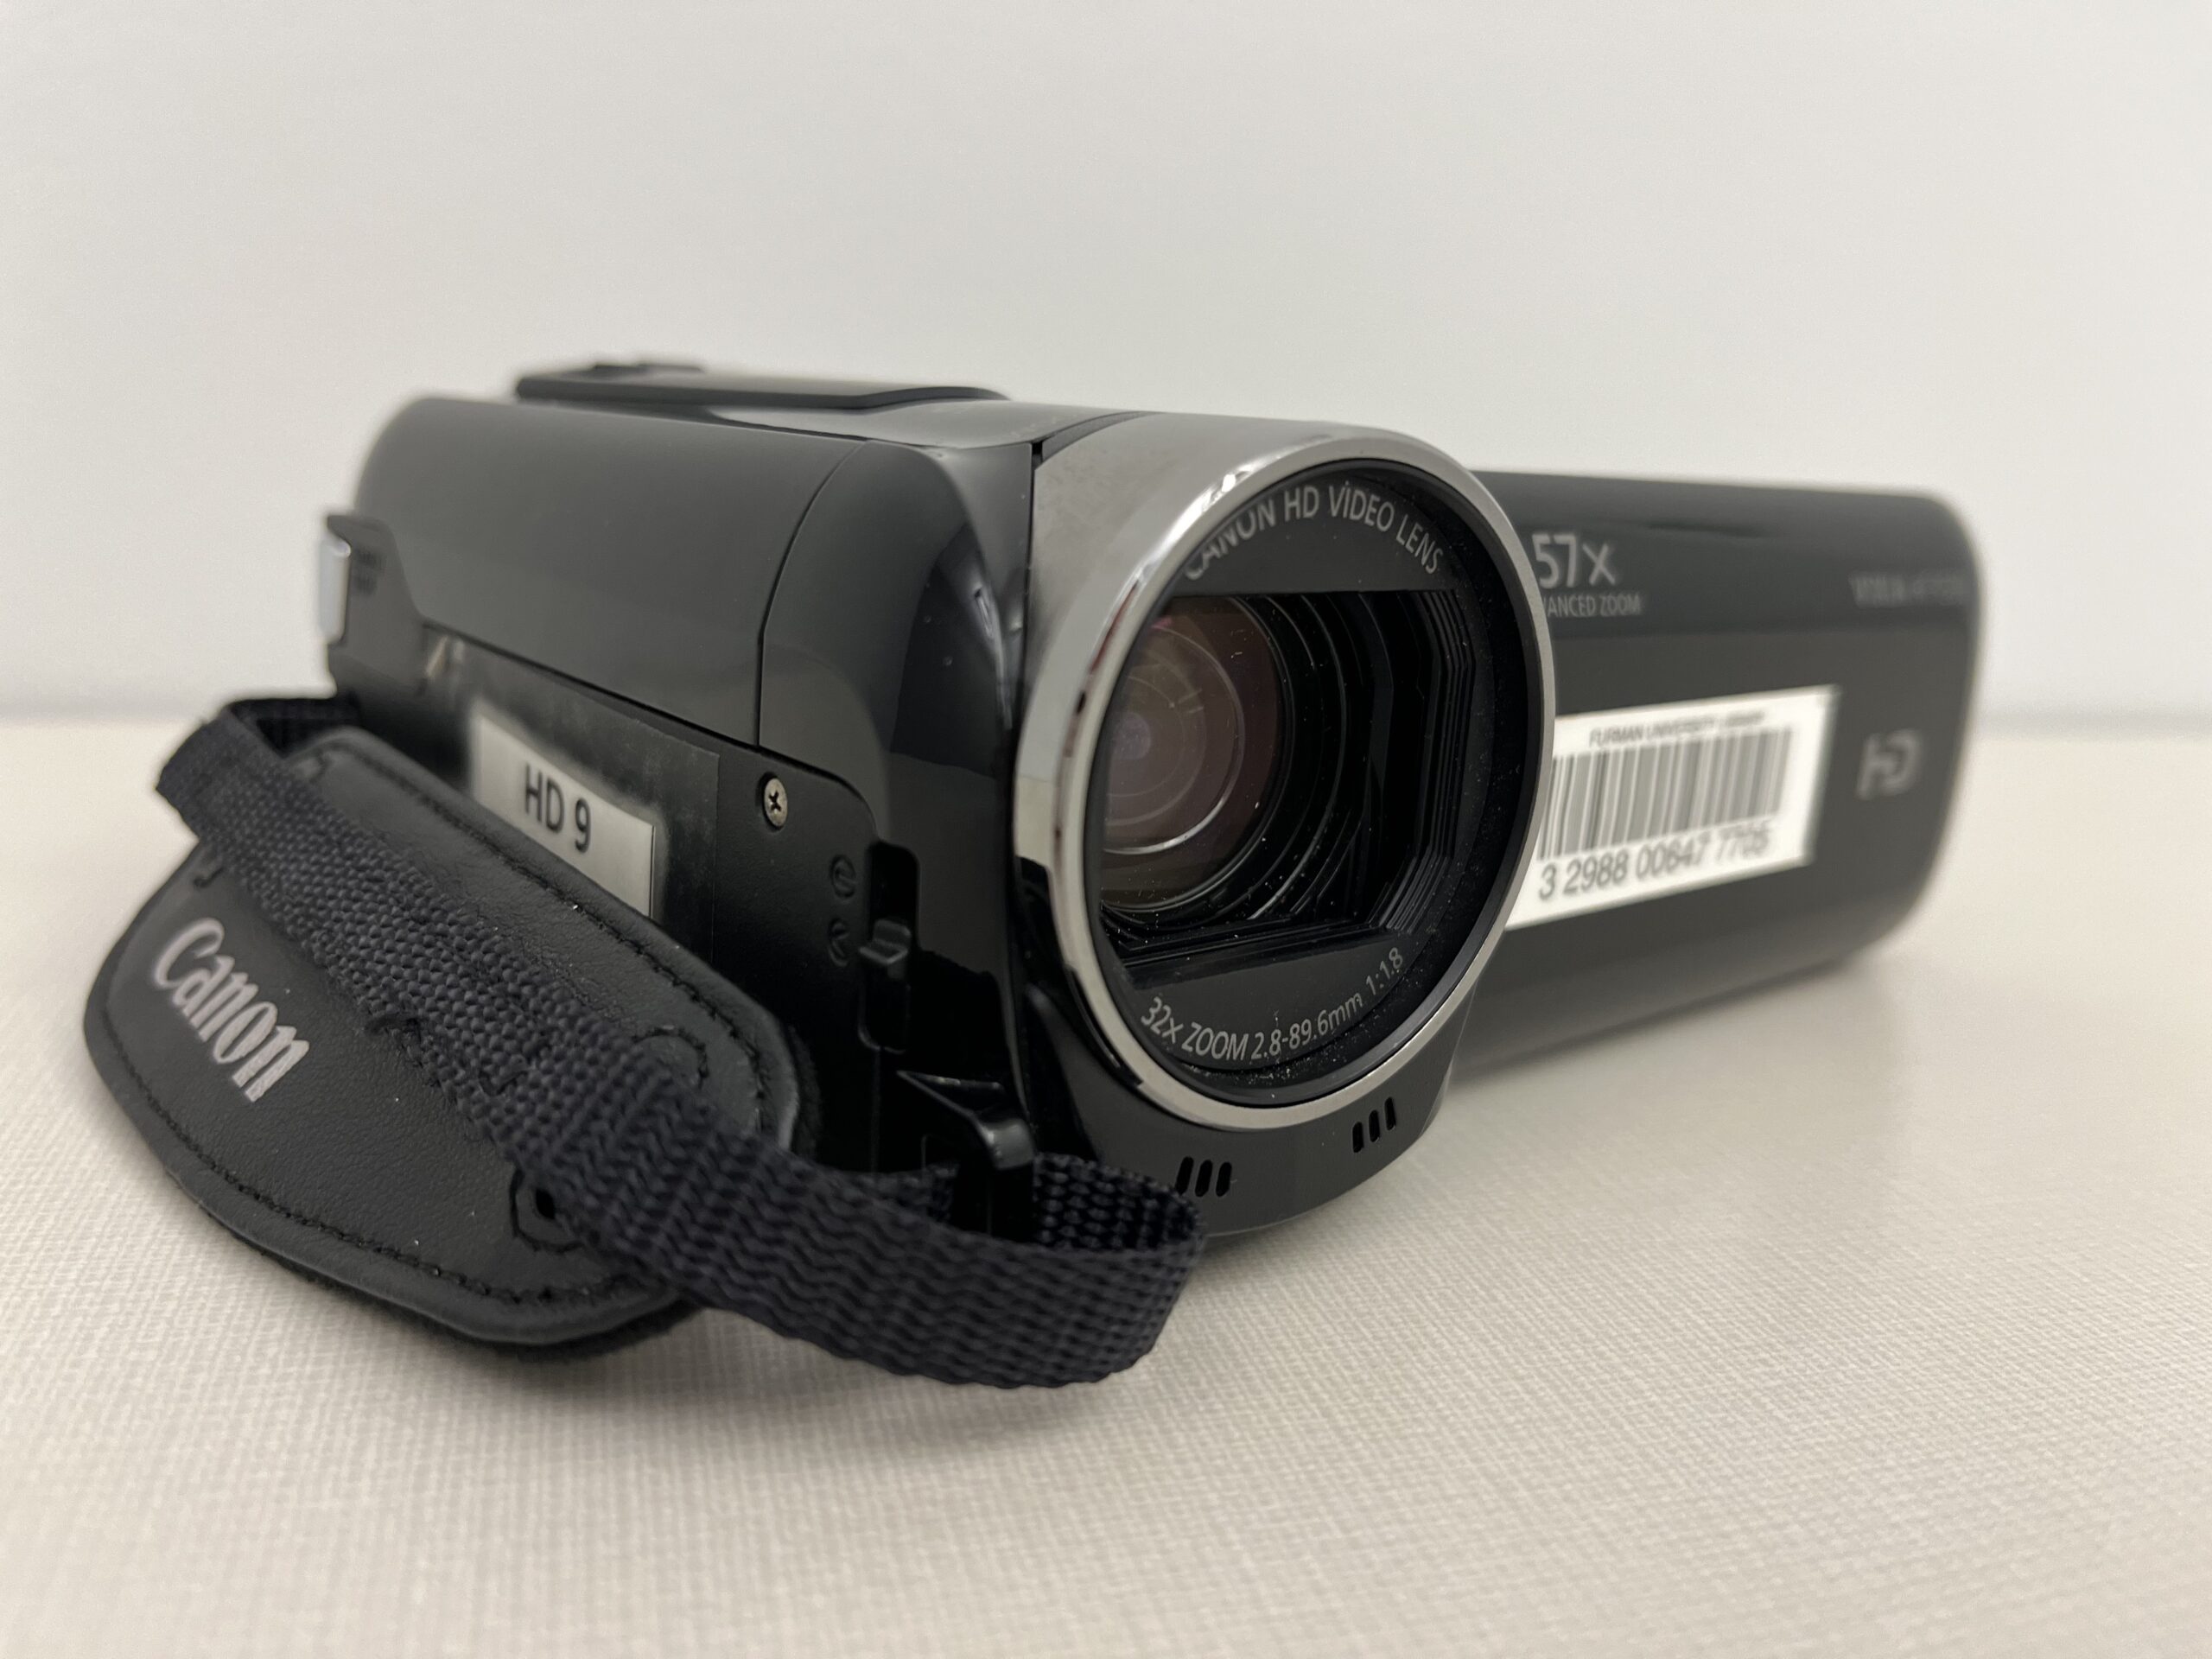
- 4 Canon Vixia HF R500 video cameras
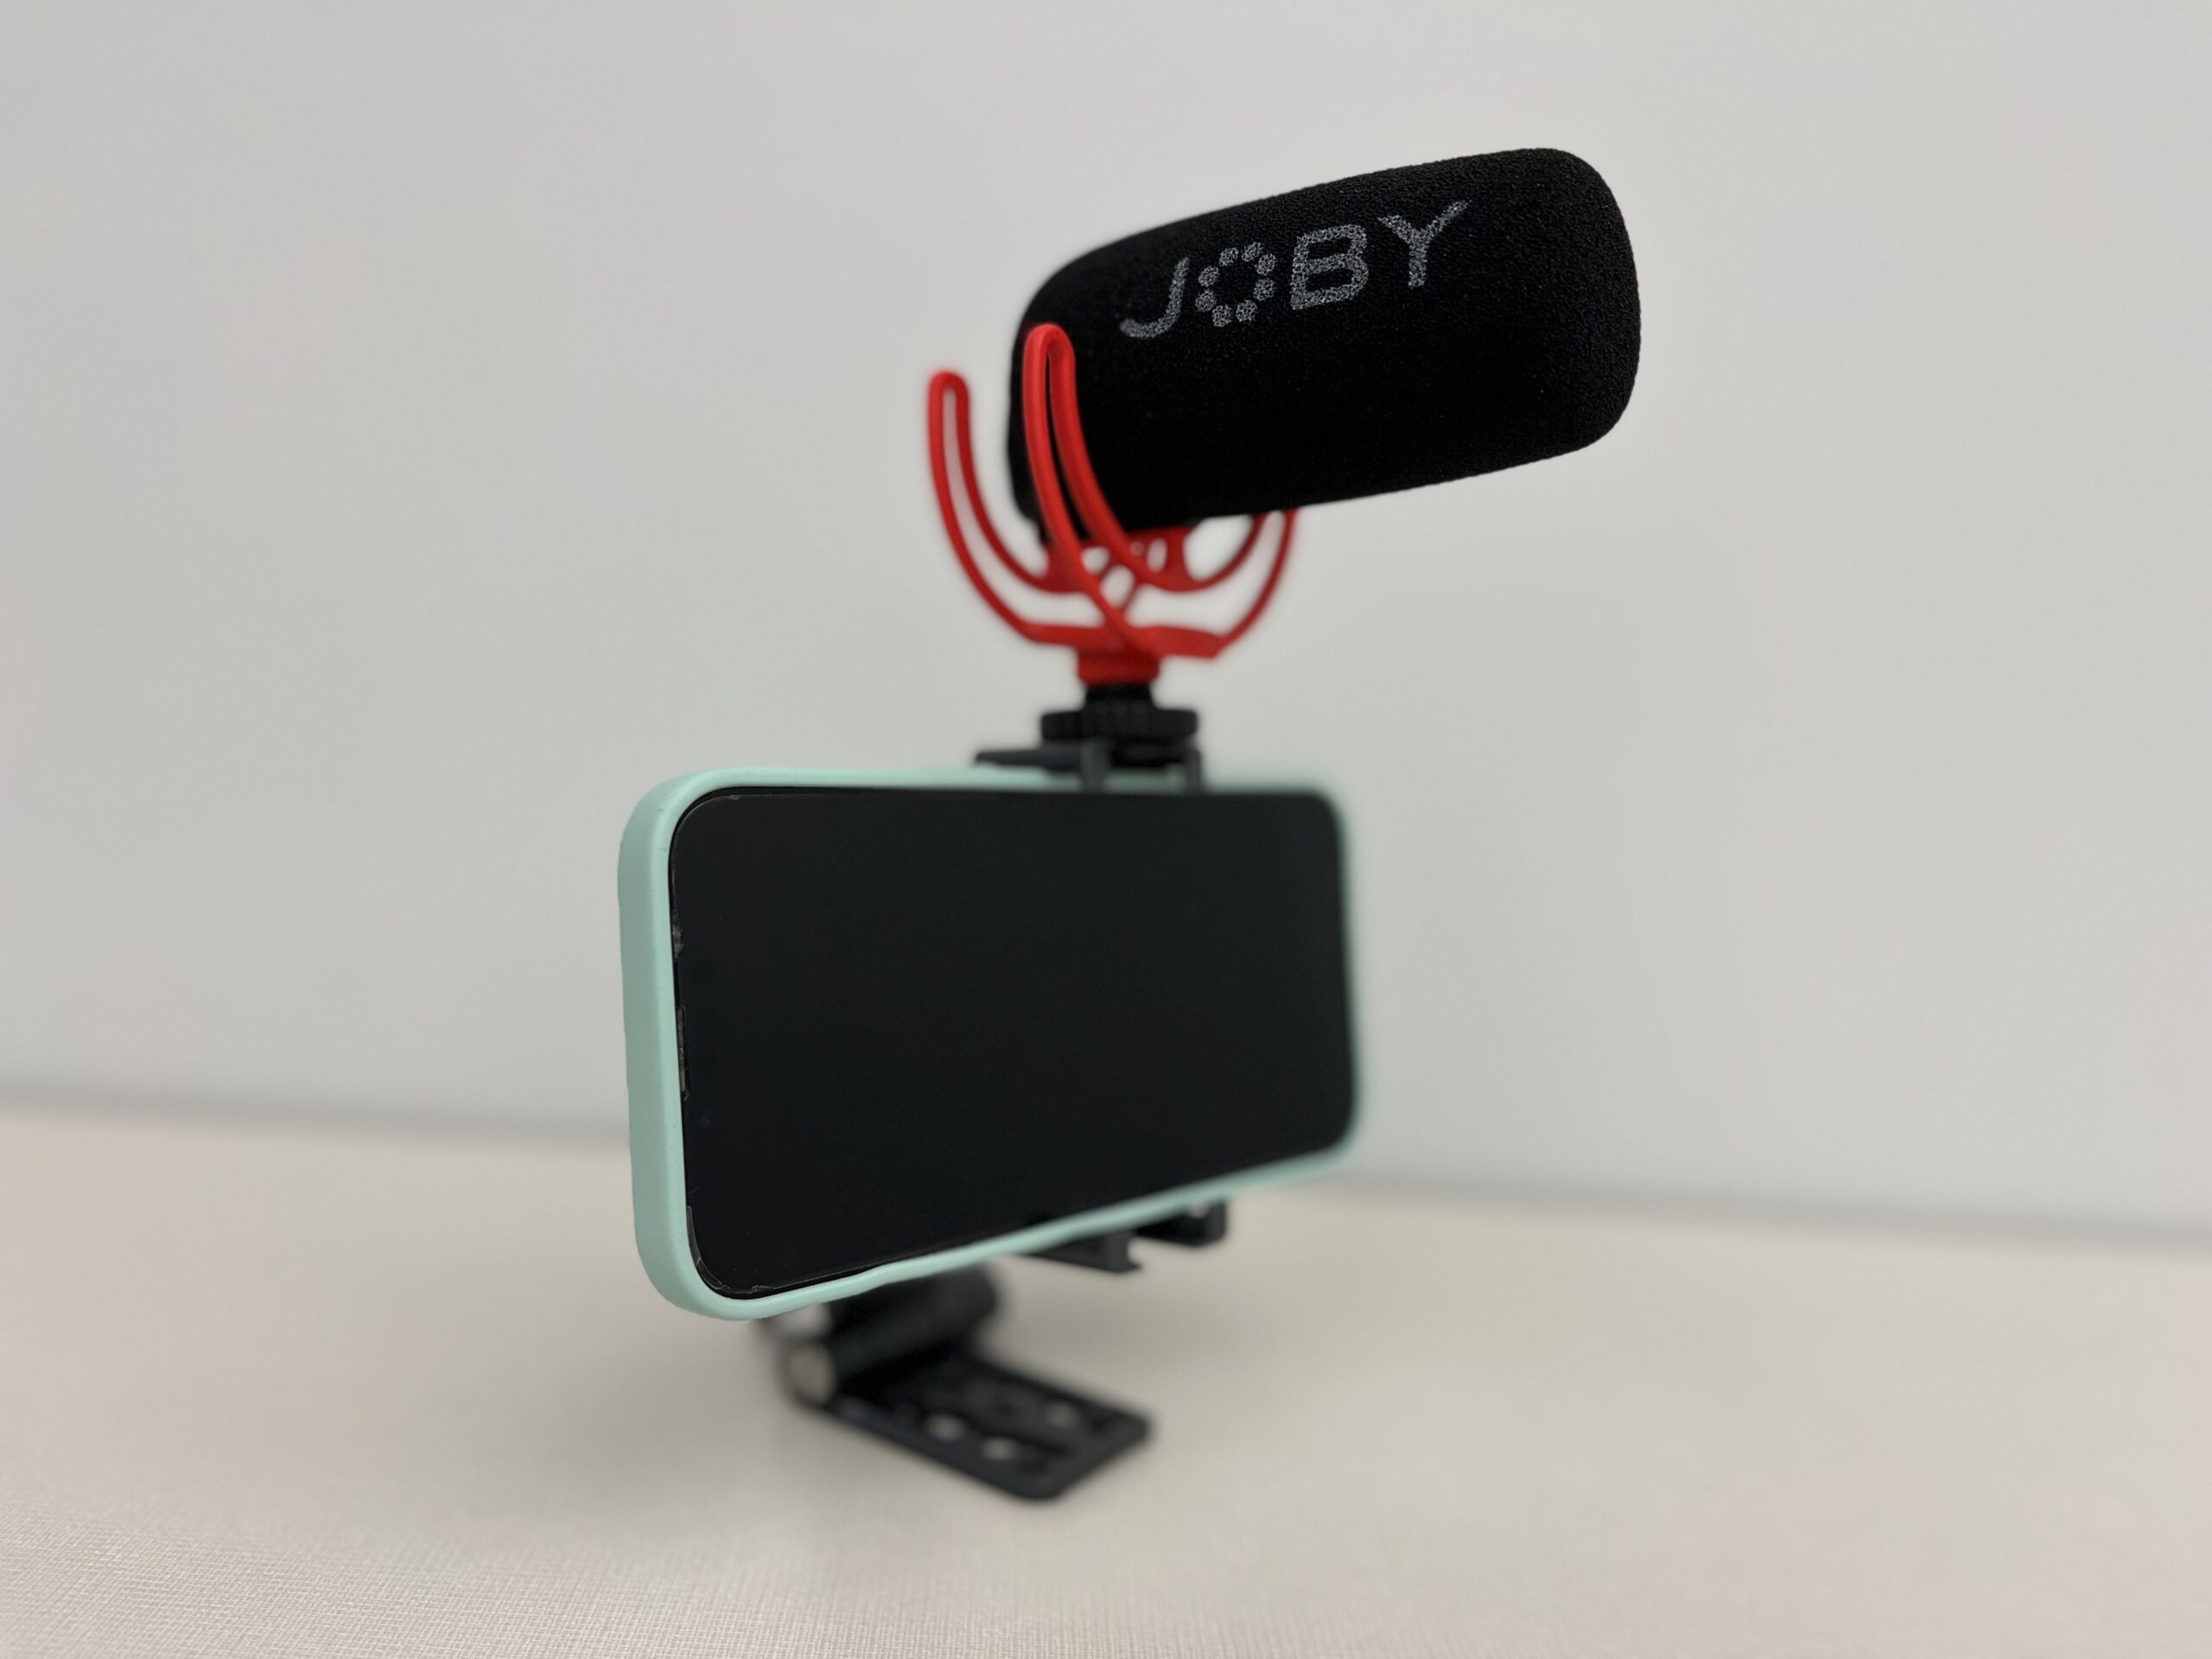
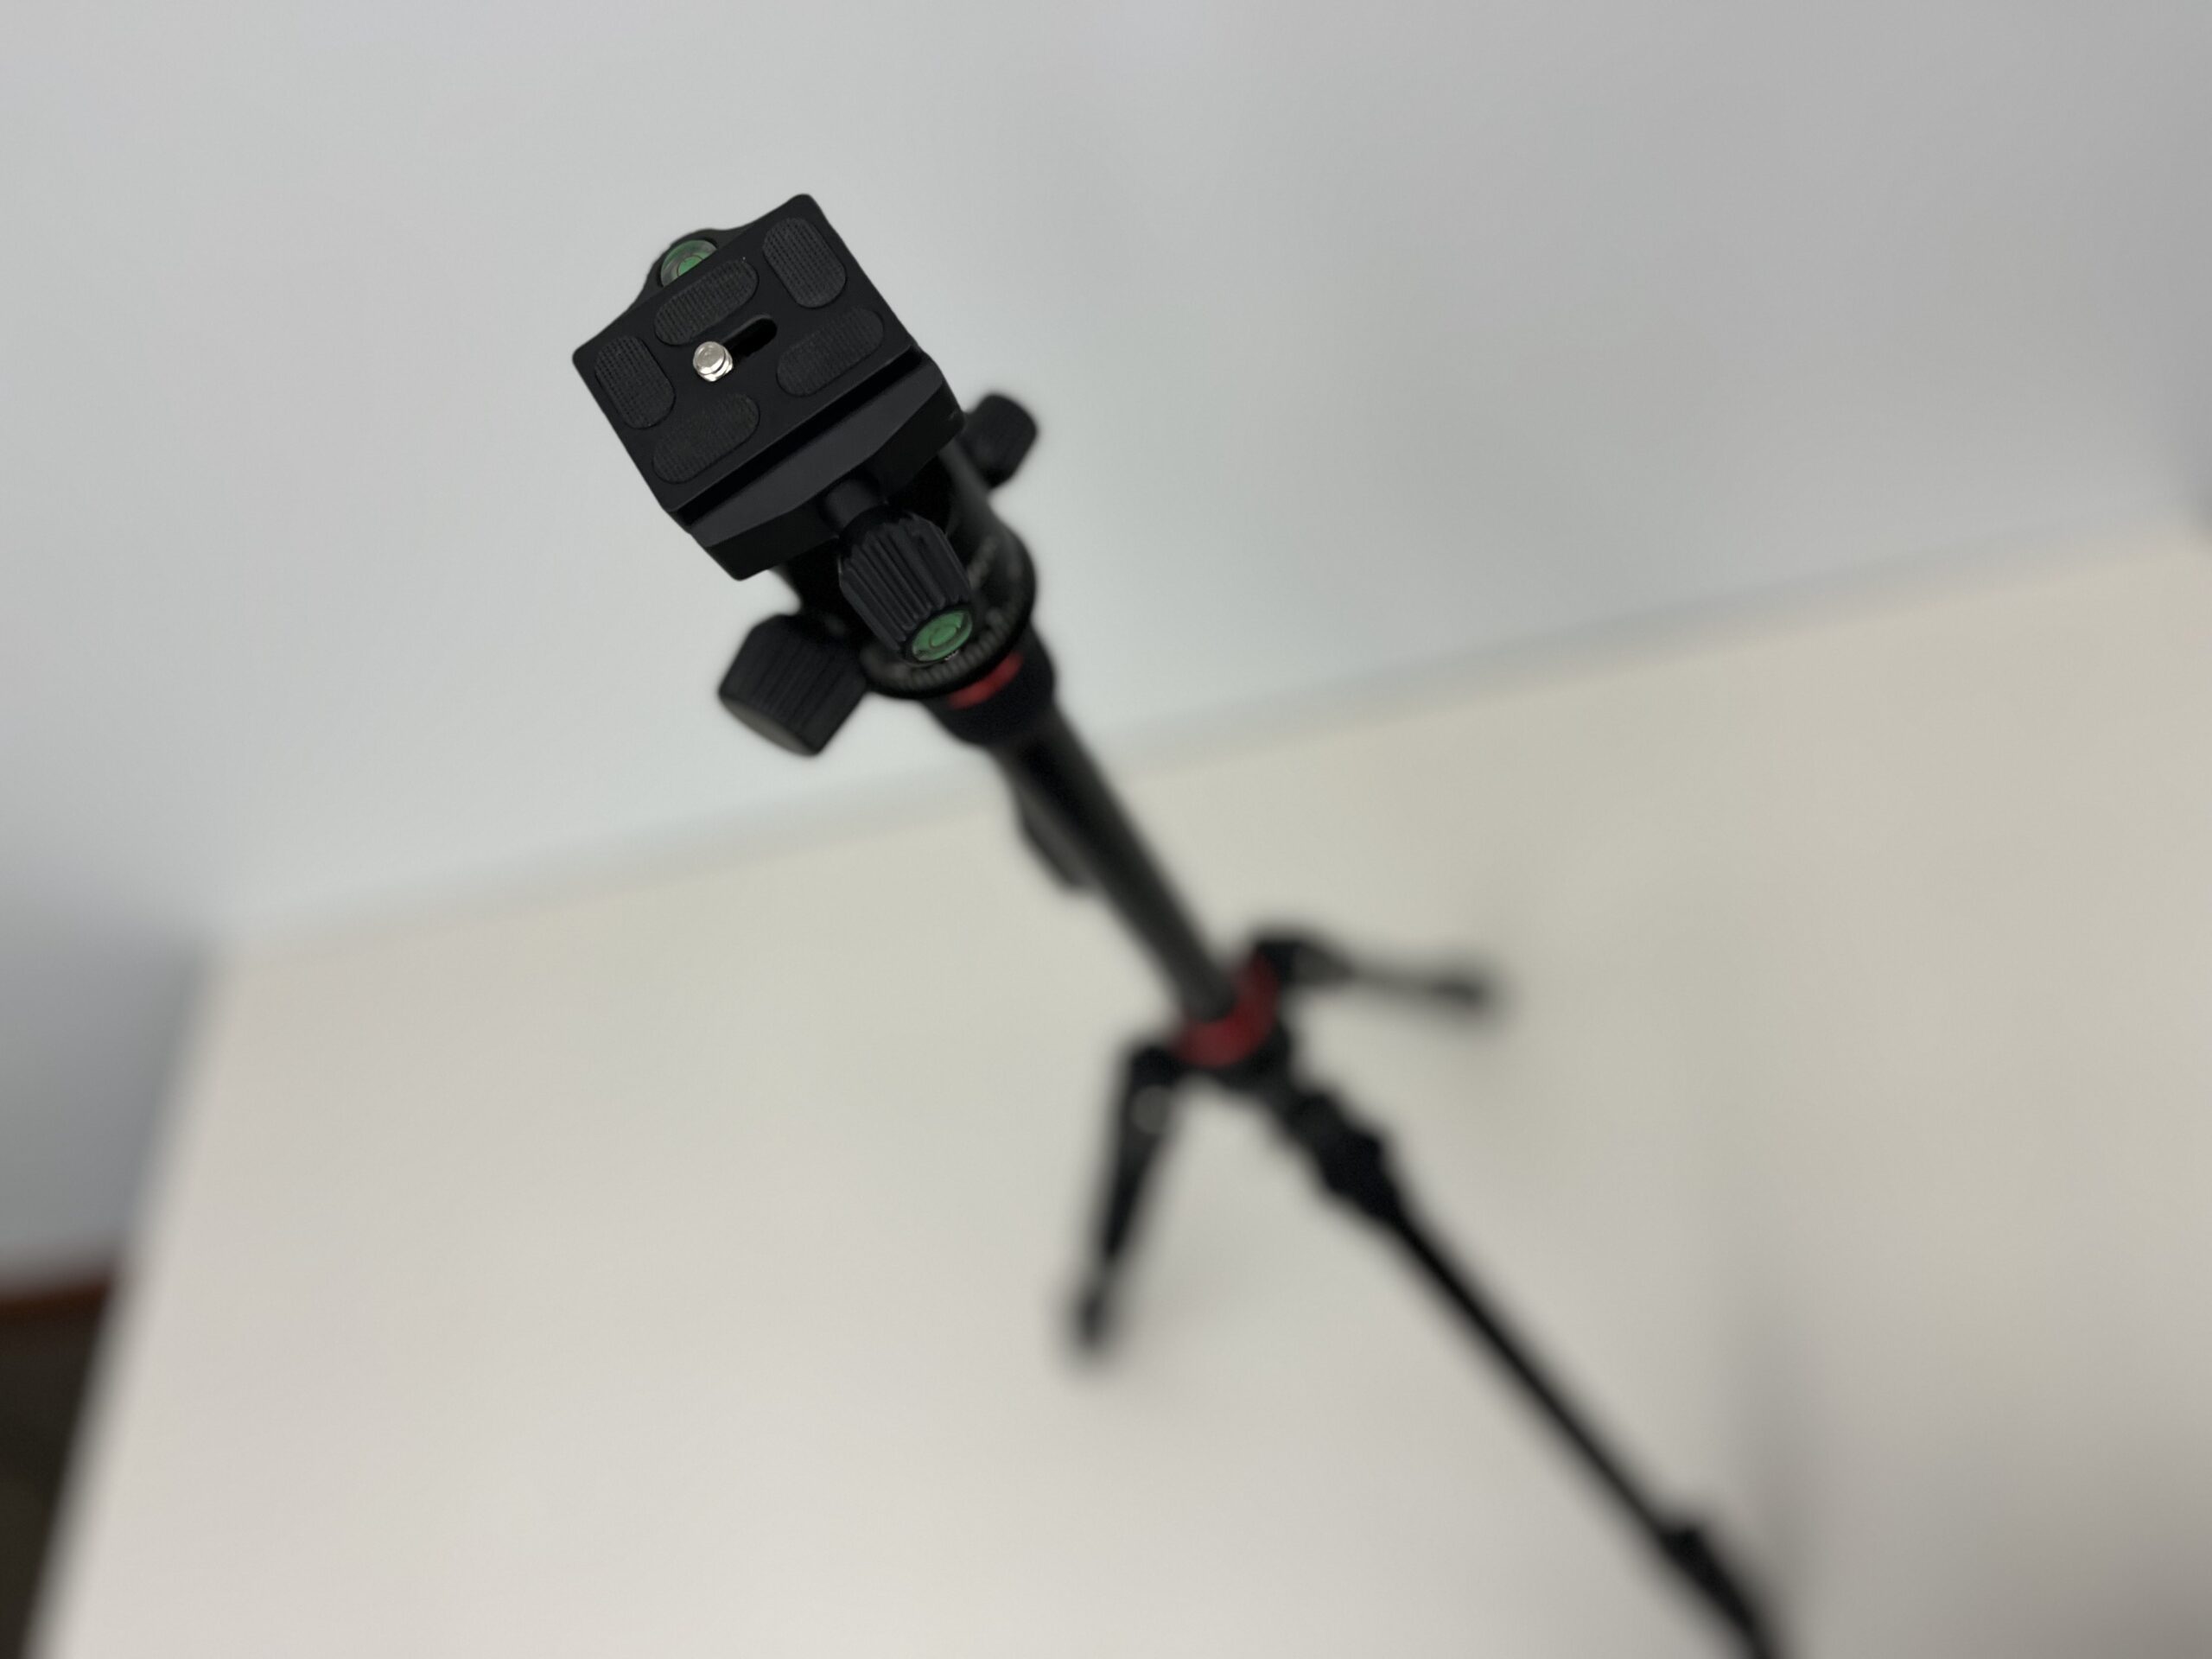
- New for Fall 2023! 5 smartphone recording kits with tripod attachment and microphone
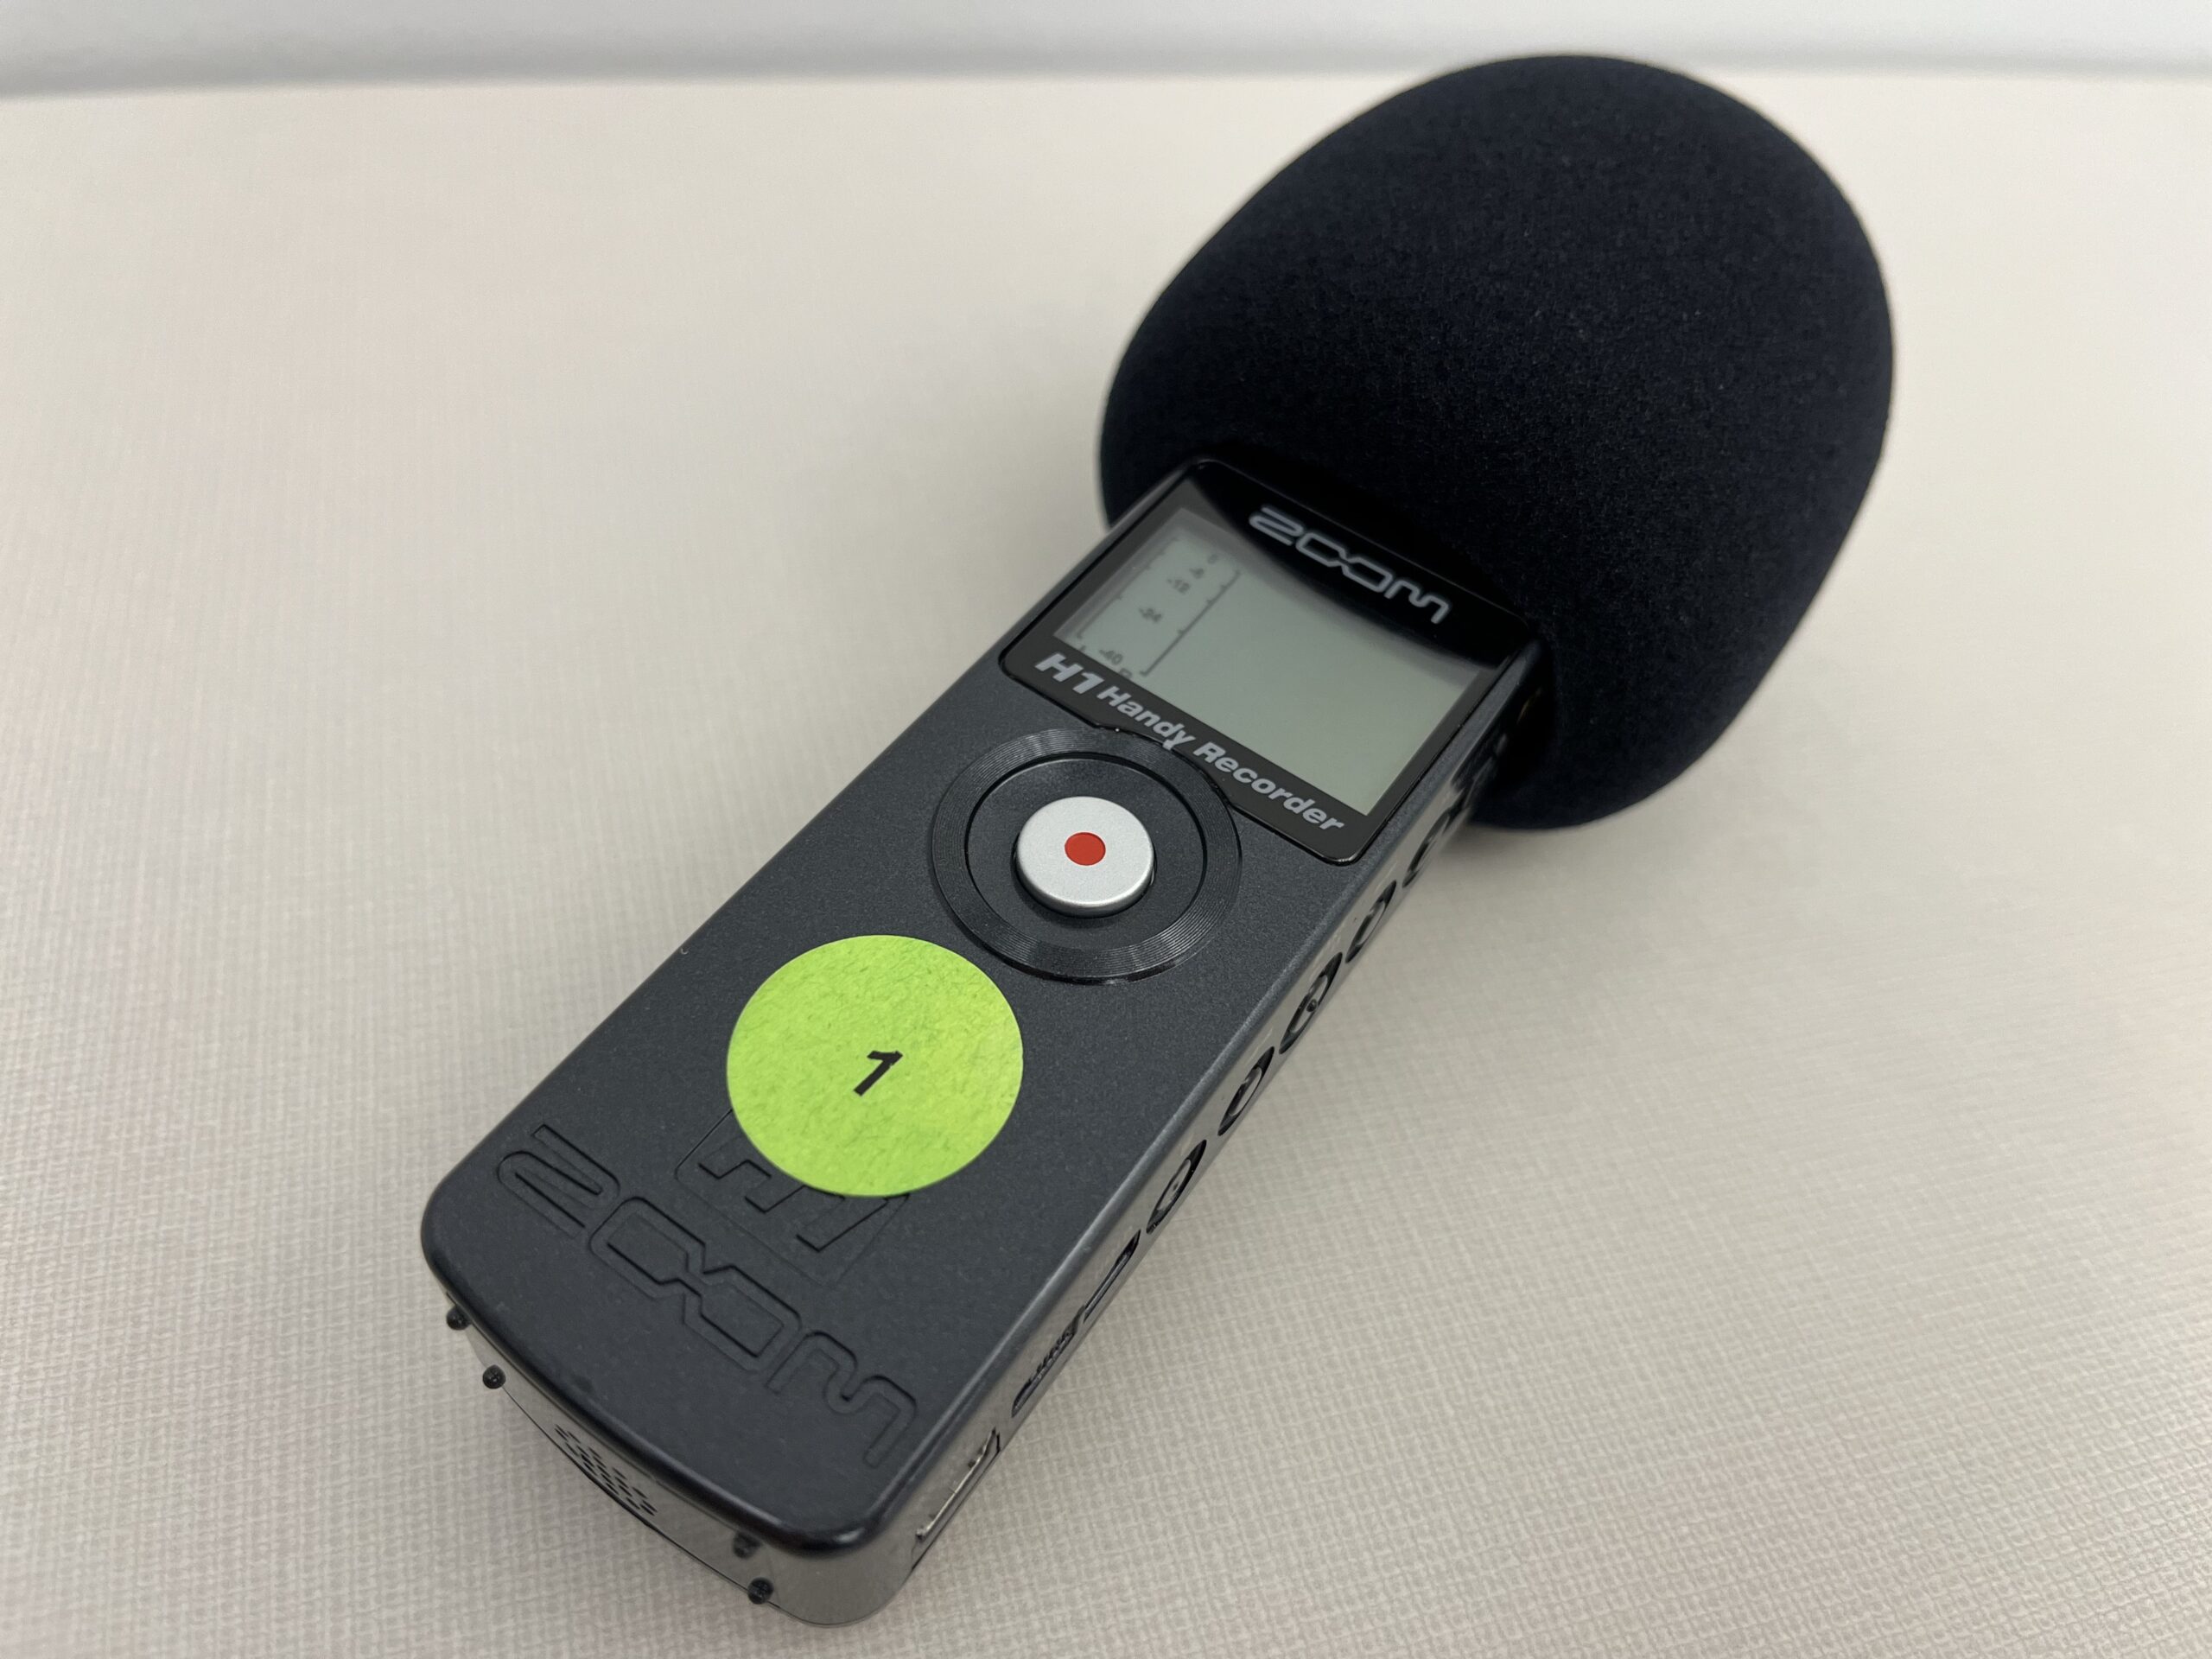
- 8 Zoom H1 Handy audio recorders
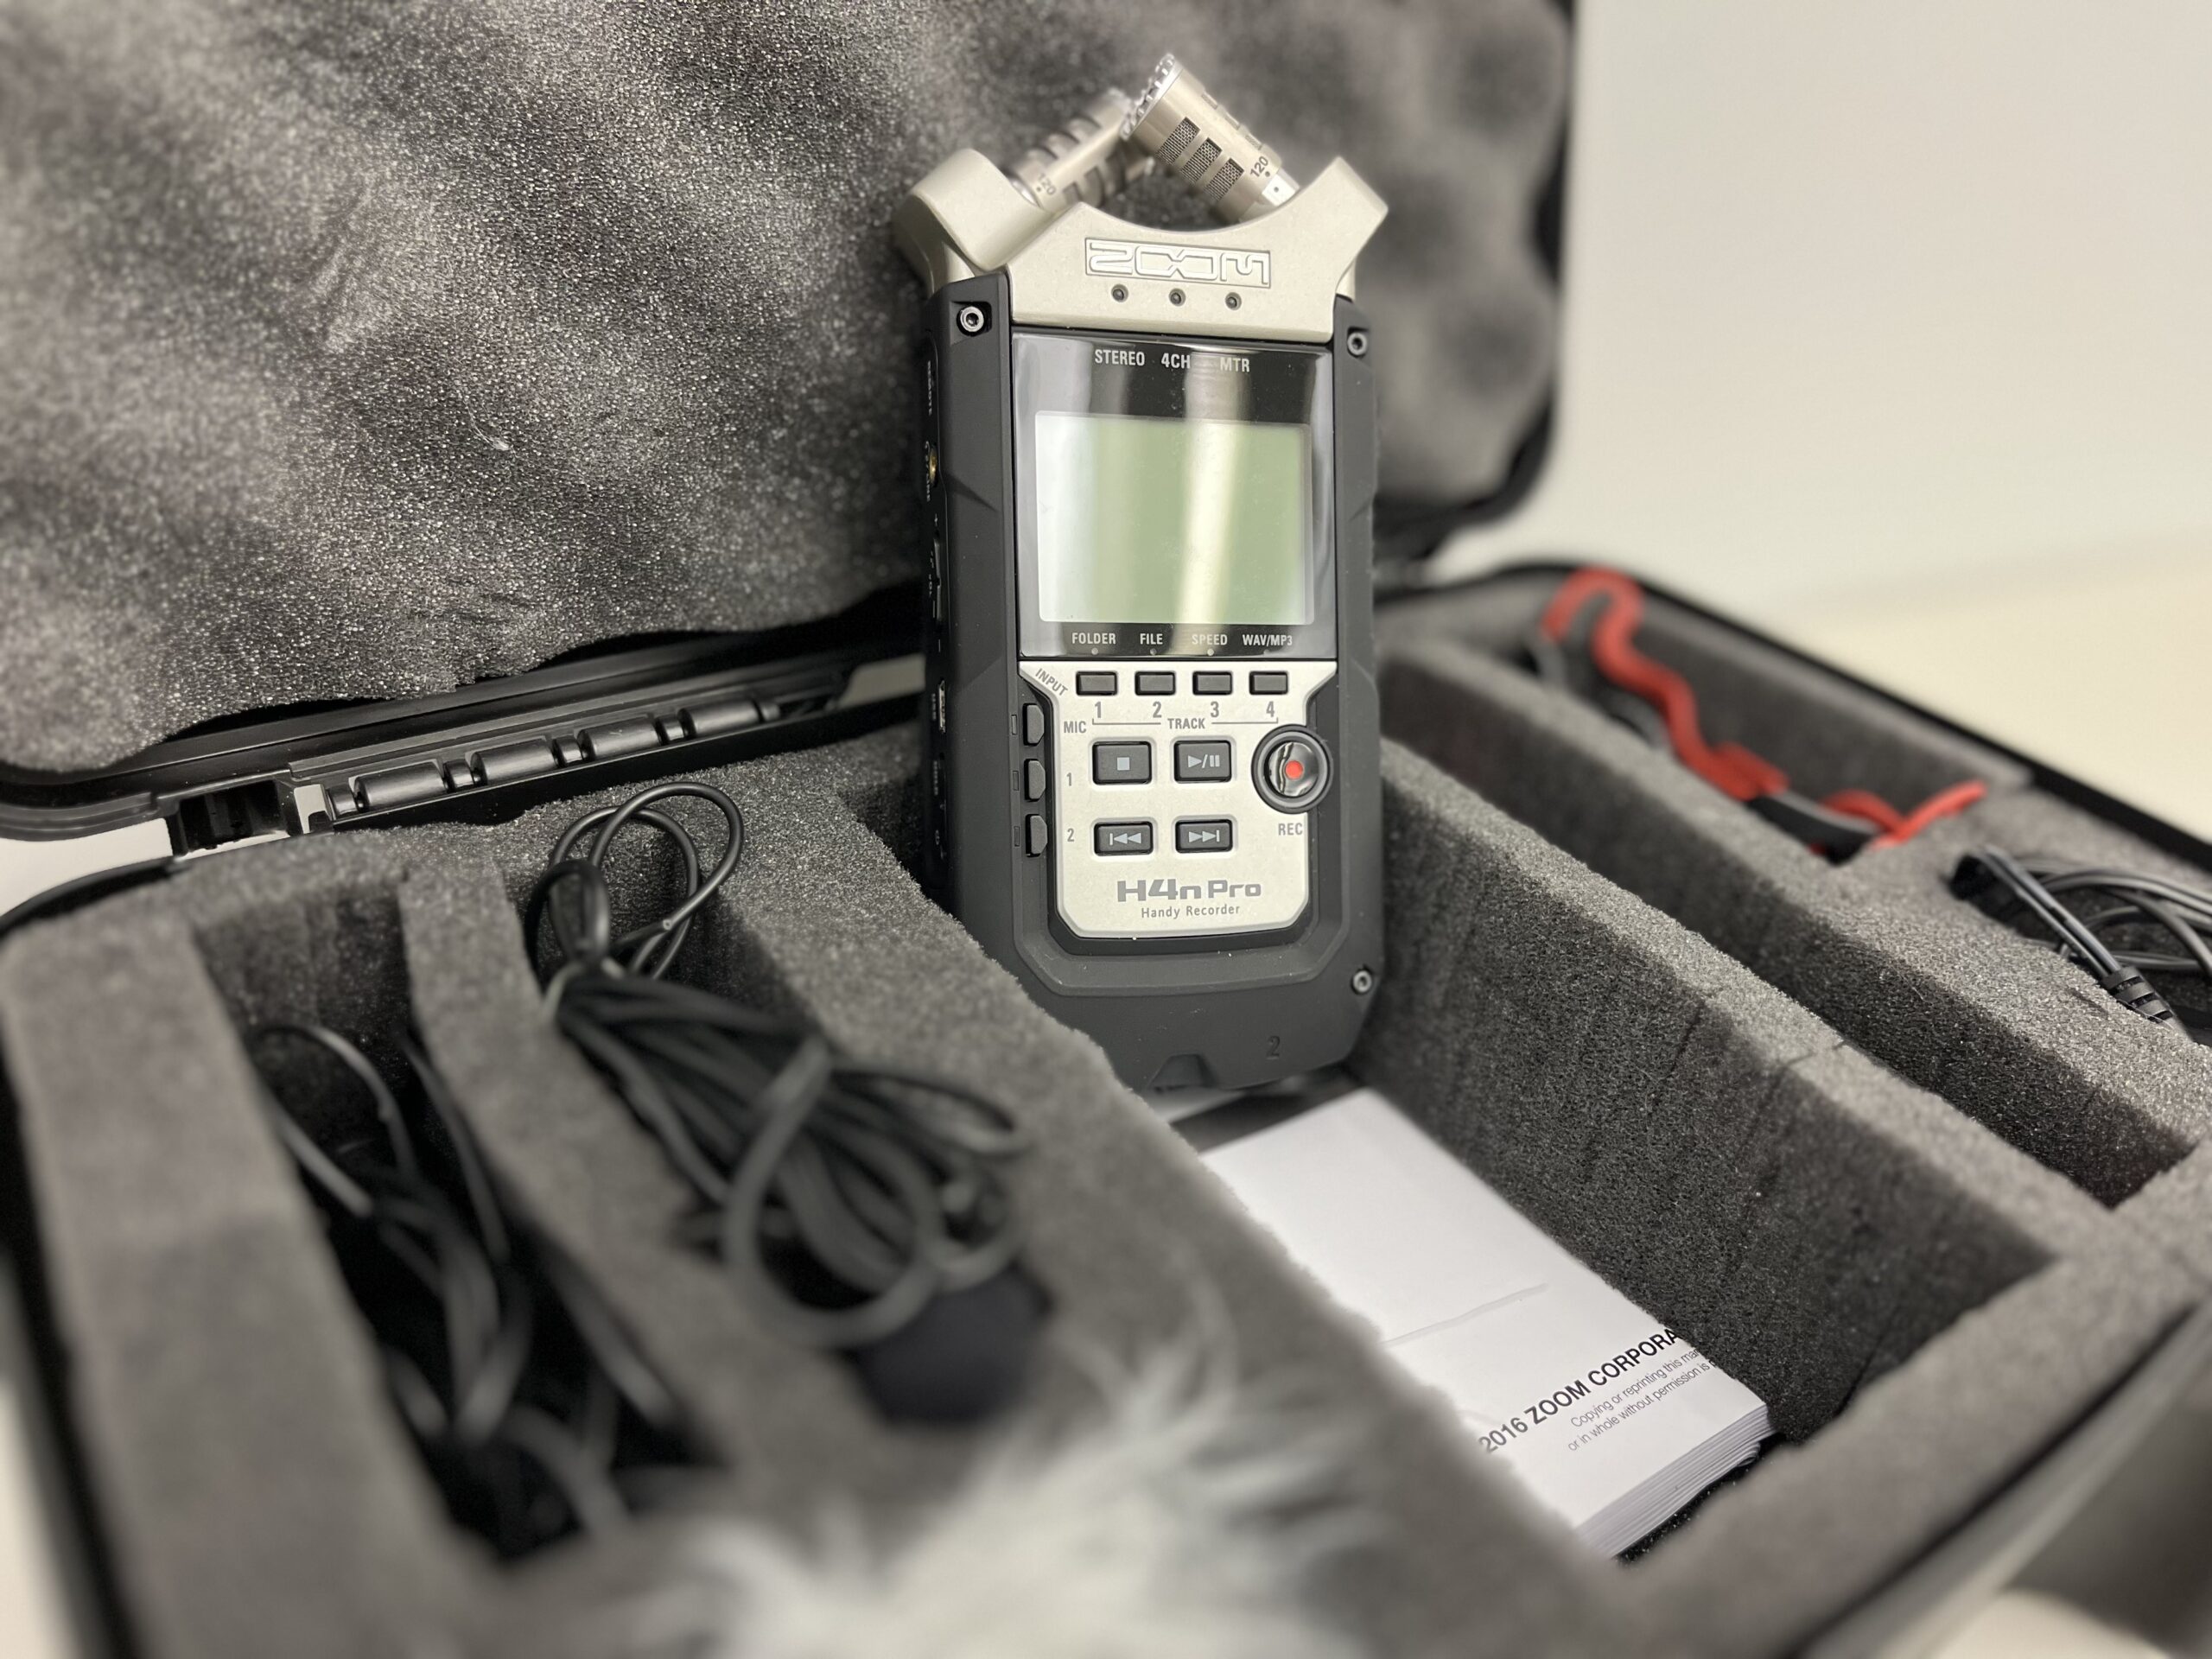
- 10 Zoom H4N audio recorders with additional accessories
You must have your Furman student ID with you to borrow equipment.
We also have the following equipment that students can use while in the Writing & Media Lab:
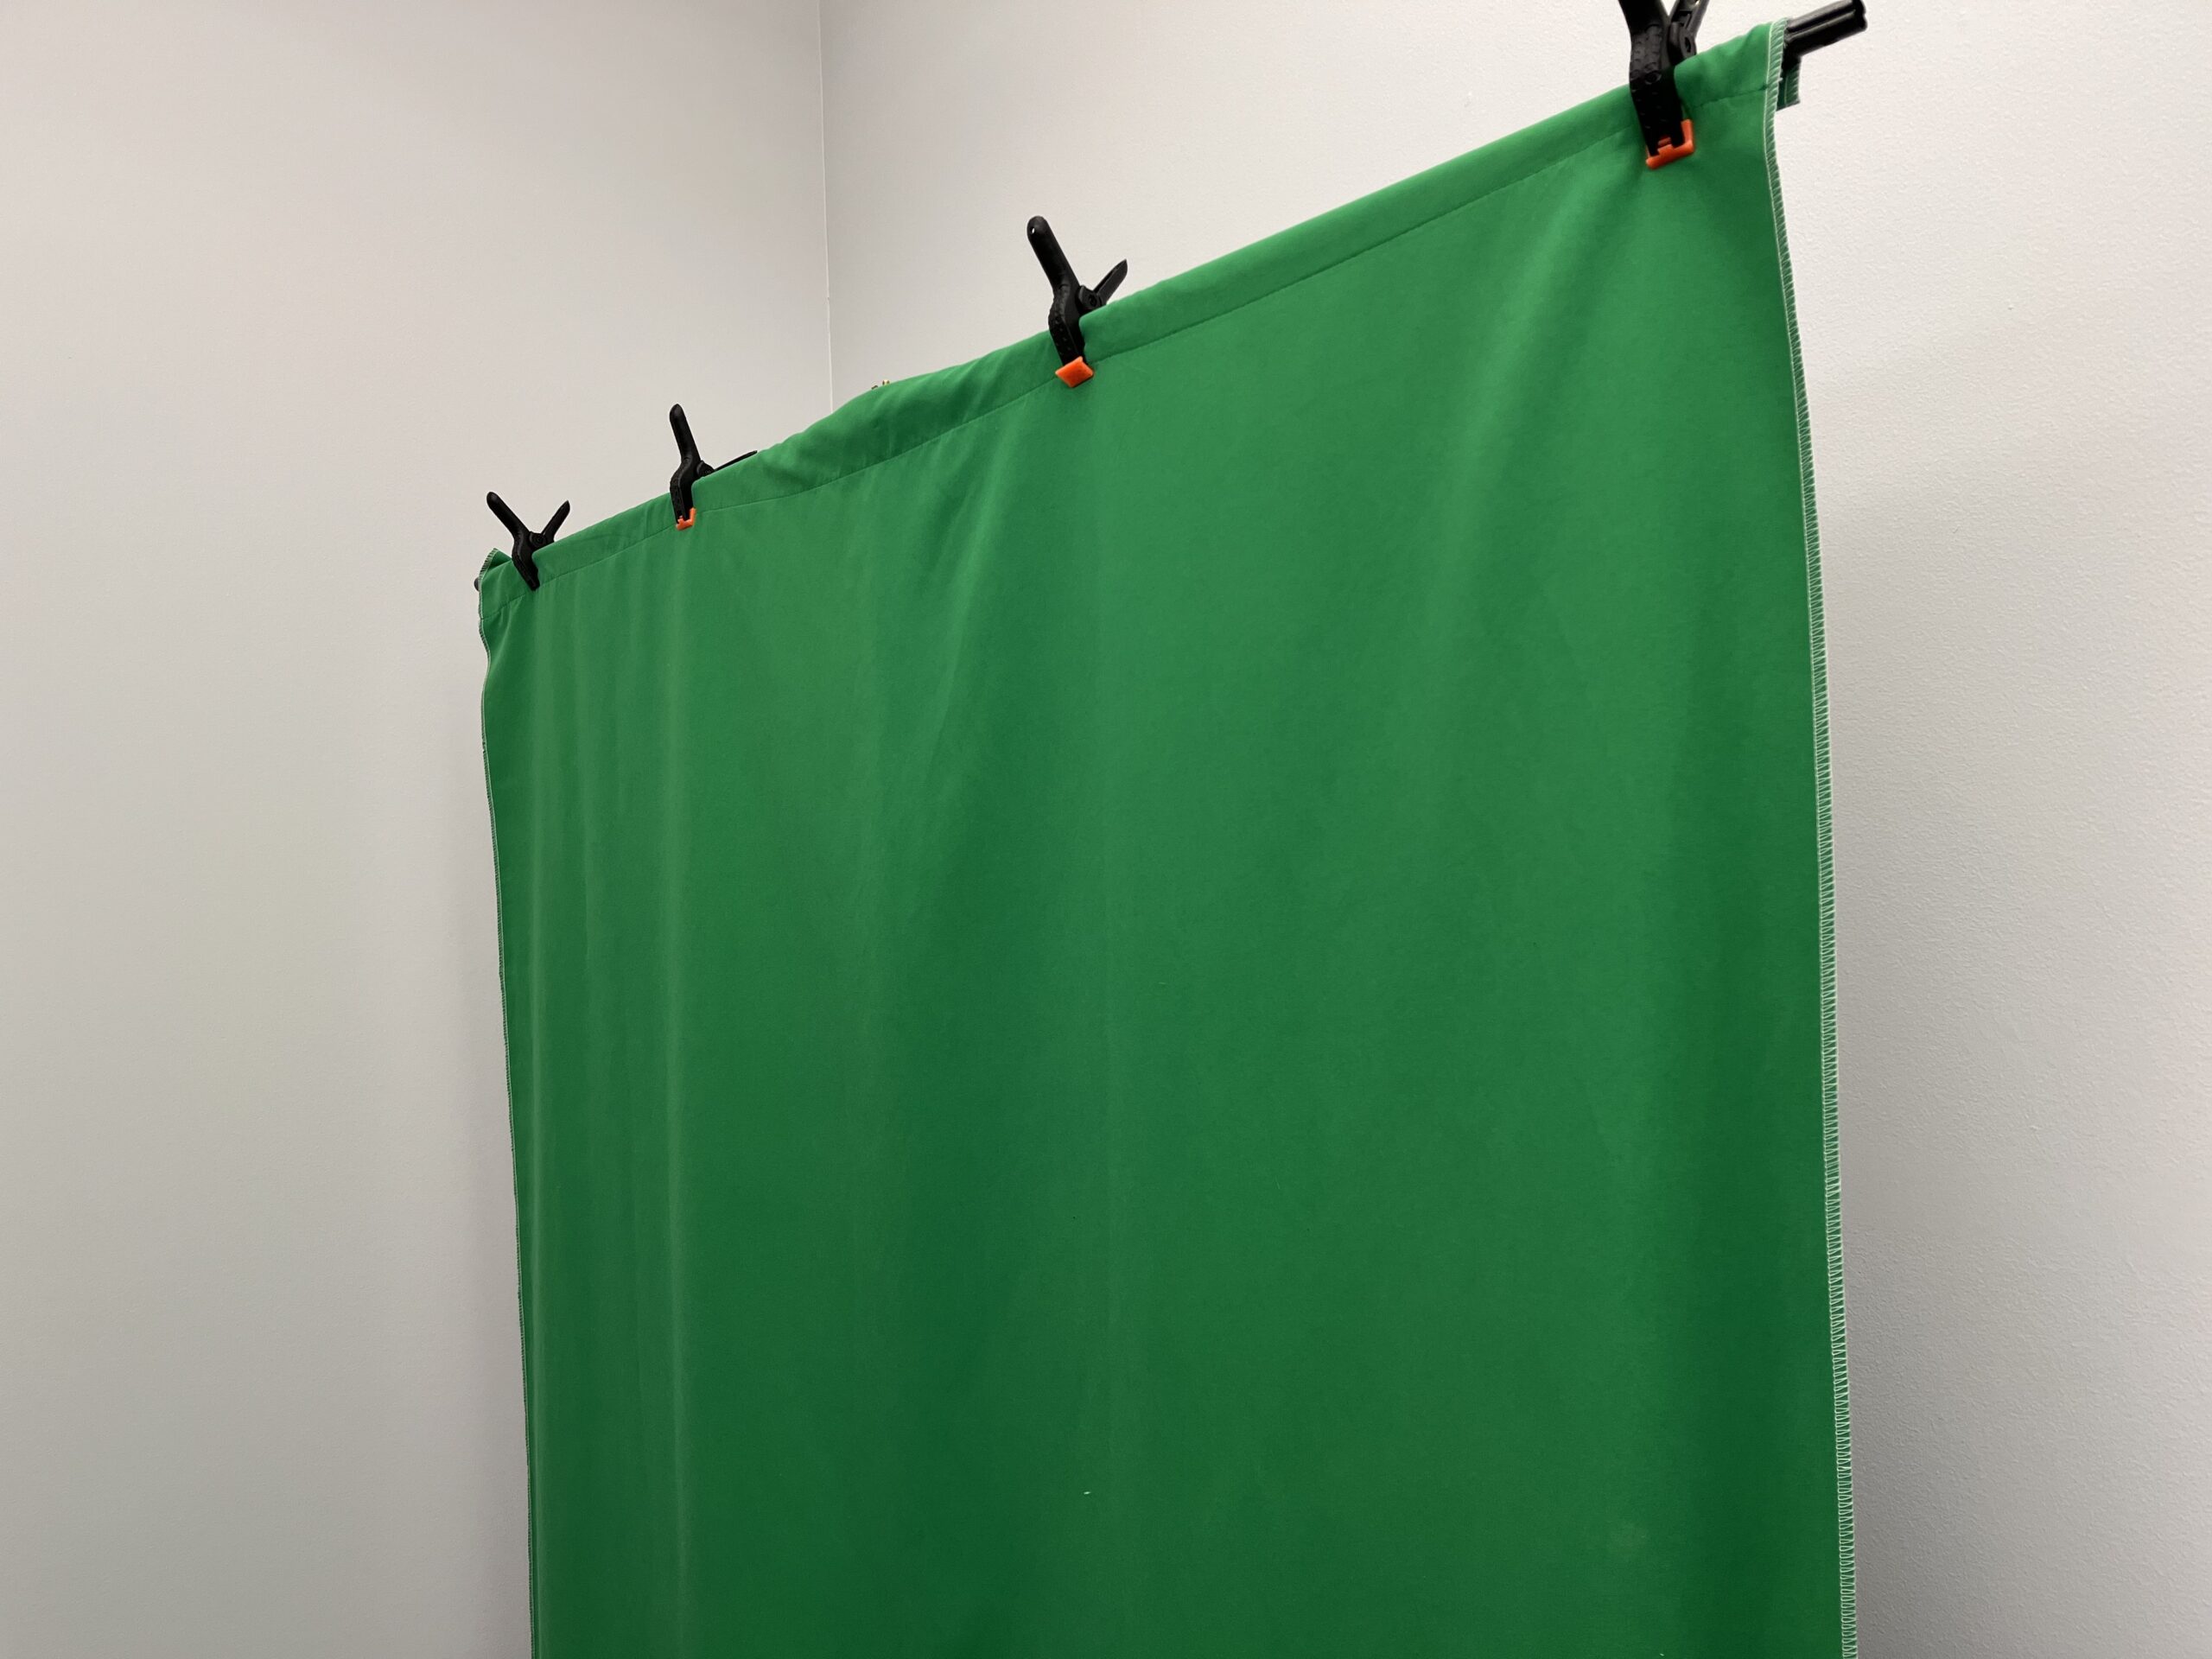
- a green screen for recording scenes that you can edit on the computer
- 8 Apple iMac computers with multimedia editing software, including Premiere Pro (by Adobe) and iMovie (by Apple) for video editing, PhotoShop (by Adobe) for image editing, and Audition (by Adobe) and Audacity (an open source program) for audio editing
Smartphone Kit
Canon Vixia HF R500 Handheld Camcorder
Tips & Tutorials for Presentations & Posters
Practice, practice, practice! Whether it’s a presentation or poster, practice helps everything go more smoothly.
You can:
- practice in front of a mirror
- use your phone or borrow a camera from the Writing & Media Lab to record your presentation for review
- practice in front of a Writing & Media Lab Consultant and get instant feedback (just make a multimedia or presentation appointment on our website)
Presentations
- Plan your speech before you create the slides
-What YOU have to say is the most important part
-The slides should complement and enhance your speech
-Define the details you want to talk about for each topic - Use PowerPoint to create an outline first to make sure you have a good flow of information. Create titles only and then rearrange your content before you fill in the details.
- Think of outlining your presentation the same way you would outline a paper
- Identify the purpose of the presentation
-Who is your audience?
-How will you open your presentation?
-When will you cover each topic and in what order?
-How will you close your presentation? - PRACTICE, PRACTICE, AND PRACTICE! The best way to prepare for your presentation, whether you’re recording it or presenting live, is to practice under circumstances as close as possible to the real deal
-Open Zoom and create a meeting just for you and practice screen-sharing and presenting
–Make an appointment with a WML Consultant and practice with an audience who can offer feedback and advice - Other resources and advice
–PresentationZen’s 10 Tips for Improving Your Presentations Today
–Death By PowerPoint (and how to fight it)
Posters
- Consider your audience and the expectations for your discipline. Your professor(s) can help you with the expectations for a poster in your field, whether it’s a STEM field, humanities, or social sciences.
- Think about the main point. What should someone take away from your poster?
- Make your text succinct so that your poster is not too cluttered.
- Ask someone else (maybe a Writing & Media Lab Consultant!) to read your poster and help you make sure it is clear and not confusing.
- Other resources
-Find templates and advice on the Furman Engaged website
-More great advice and templates on Collin Purrington’s website
Keep in mind and use visual design principles intentionally.
- Contrast: Use contrast to draw attention to something important. You can make an important word or phrase bold, italicized, or a different font, size or color. Contrast works best when it’s strong, so make sure it looks intentional and not like a mistake.
- Repetition: Most slide templates already use repetitive elements like fonts and colors across all slides. Use repetition to communicate information, e.g., all section headings are the same size/font/color. If only headings use that combination, then your audience knows a heading when they see one immediately.
- Alignment: Most people think of alignment as left-, right-, or center-alignment. But you can also align elements on your page, like images and text boxes, with other items on your slide or poster. Use alignment to group information together or break out of the alignment to draw attention to something.
- Proximity: Group similar information together. Some simple examples: the title and subtitle of a document usually go near each other, one over the other; your name, email, and address all go in the same place on an email signature, together at the bottom. Place information on your slide or poster so that items go together or flow from one to the other in a logical manner that communicates what you want to communicate.
- Learn more and see examples from PresentationZen
- Change something on all of your slides at once: instead of editing each slide one at a time, edit the Slide Master. This will let you add a background image or color, or change some of your fonts, and apply it to all of your slides. You can also edit specific slide layouts. It’s basically a master template for everything in your presentation.
- Change the size of a slide to make a poster: to make a poster, you will probably want to increase the size of the slide (especially if you need to print it). A height of 36 inches and width of 48 inches is usually good, but you will want to check what size works best with the printer that you plan to use if you’re printing a physical poster.
- Make sure that your PowerPoint is accessible to as all users by watching this how-to video from the SOAR office
As a Furman student, you have access to a couple of different tools that you can use to screen record your asynchronous presentation.
Microsoft Teams
- How to record using Teams:
–Video instructions
–PDF instructions
Zoom
- How to create a local recording on your computer
-Furman Zoom accounts are not set up to record to the cloud
-Zoom will choose a default location to save your recording. Check the Zoom website if you can’t find it after you record.
PowerPoint with Narration (saved as a video)
- Step 1: Add narration and slide timings
- Step 2: Save your file as a video (.mp4)
–for Mac
–for Windows
You may need to create an audio file describing the content of your poster in order for it to be accessible to all audience members. There are different ways to do this.
- On a Mac: Use QuickTime Player to record and save your audio
- On Windows: Use Voice Recorder to record
- You can use Zoom to create a local recording on your computer
-Furman Zoom accounts are not set up to record to the cloud
-Zoom will choose a default location to save your recording. Check the Zoom website if you can’t find it after you record.
-Zoom saves a separate audio file in addition to the video (look for the audio_only.m4a file; rename it before you share it with the Furman Engaged organizers).
- Remember the goal of recording your narration: to provide the best possible experience for users who want to interact with and learn from your poster.
- After you read the title of your presentation, provide a brief outline to help orient listeners. This will be especially helpful for someone who can’t see the poster or screen. For example, “First I’ll start with the Background information, and then the Methods used in my research. Then I will describe the Results….” etc.
- Practice several times until you feel comfortable enough to read your poster in a conversational tone of voice
- Consider printing out a script, including your initial outline, to have in front of you as your record.
- Describe any images relevant to your project as thoroughly as possible. Ignore any images that are purely decorative. It would be helpful to write out your descriptions and practice reading them before recording. Make sure to describe images at the point in your overall recording that is most useful and relevant for the listener.
- Describe the content of any charts or graphs as clearly as possible so that someone who cannot see them will be able to understand the data represented in them.
- If you quote someone, make that clear as you record. For example, “The First Witch says, quote, “When shall we three meet again; In thunder, lightning, or in rain?” end quote.
- For citations, consider rewriting your sentences to include the citation in the text instead of in a parenthetical citation or footnote/endnote. For example, “In William Shakespeare’s Macbeth Act 1 and Scene 1, the First Witch says, quote, “When shall we three meet again; In thunder, lightning, or in rain?” end quote.